In my
last skull post, I didn't get to outline any of the techniques I use for actually cleaning and whitening skulls.
So, figured I should get to that now, for anyone interested.
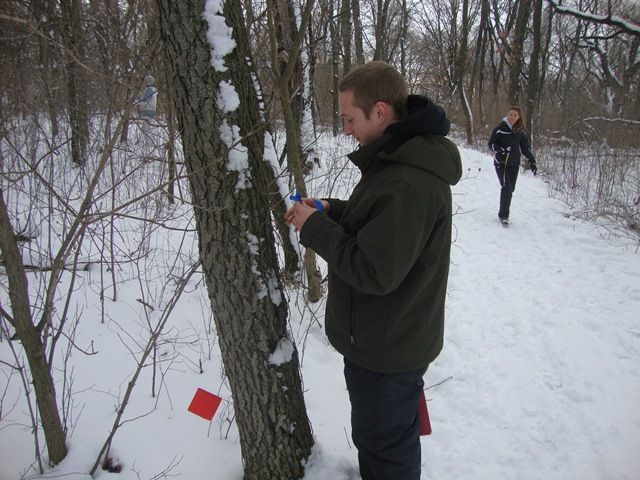
Before I begin, I should preface this by saying that you should always wear gloves when handling animal carcasses (whether recently dead or otherwise). I prefer nitrile gloves, but latex or rubber gloves would probably suffice, as long as you don't keep them and re-use them. The risk of zoonotic infection from a number of species can be rather high, and it's just not worth the risk. I wear gloves when I'm handling carcasses, heads or skulls (until the skulls are completely finished). I even put bags over my boots if I'm using a foot to hold a road-killed animal still while sawing off a head for cleaning. The saws, etc. are all cleaned with laboratory grade detergent, or a bleach solution. I know some folks that scoff at this....but that's being reckless, in my opinion. For interested folks, The Wildlife Professional recently published a good review on the risks that zoonotic infections pose to wildlife biologists (Yabsley, Fischer, Hernandez, 2012. The lethal jump from wildlife to humans. The Wildlife Professional, Spring 2012 Issue; pg 24-28). There's some serious stuff out there, and a large number of wildlife biologists have died as the result of infection from such diseases.
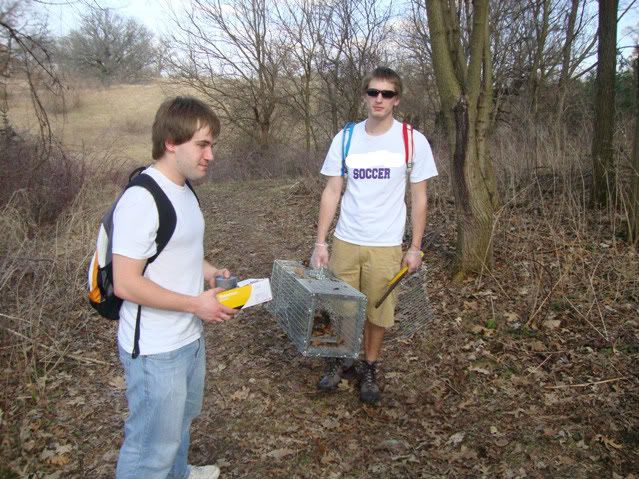
De-fleshing: This is probably the task that keeps most people from getting into cleaning skulls. It can be incredibly messy and is often a stinky proposition. Yet, there are a number of ways to go about removing the flesh from a skull you find....one very fast and stinky.....one moderately quick and stinky....the other takes alot time, but one can avoid the associated stinky.
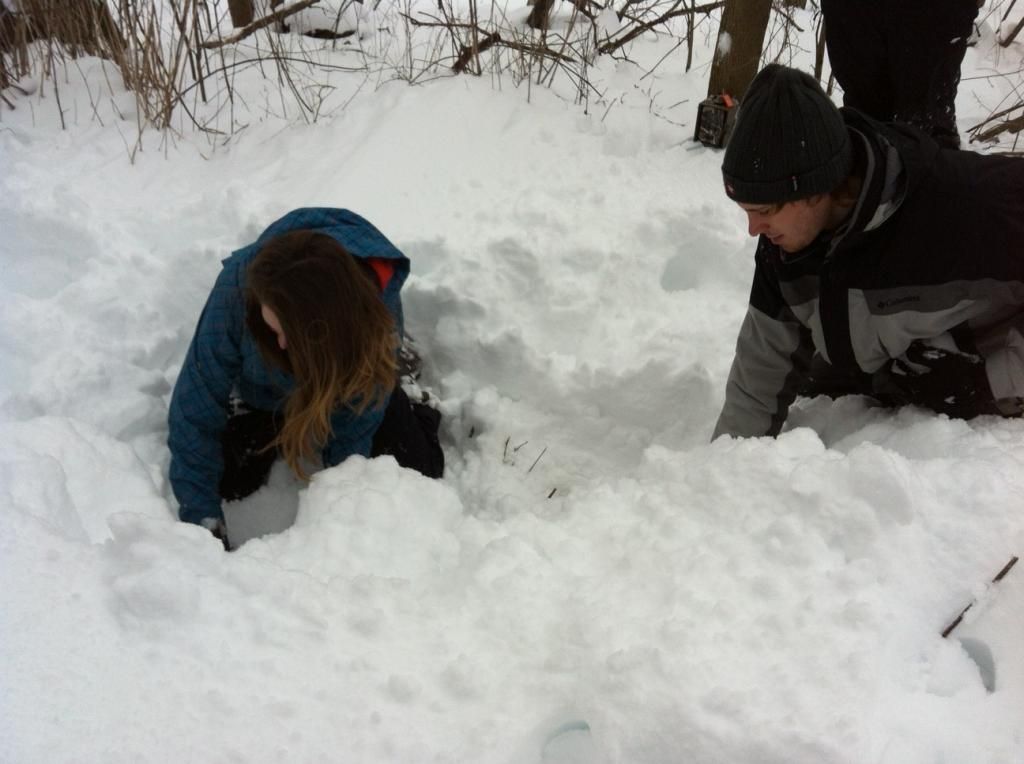
Let's start with the last one first: obviously one can just collect a carcass they find....set it in a place they know is protected from scavengers (and also away from any open windows) and let nature take its course. This can be very effective....but there's always the scavenger problem. Plus, it's easy for little teeth, etc. to fall out and get lost. I've had some success avoiding this by first putting the carcass in a small container covered in screen (like a funnel trap used to catch minnows). This technique worked fine for me with a weasel skull I cleaned many years ago....but another time was a total disaster with a mink skull I attempted to clean. In the latter example, when I went back several weeks later, the skull had fallen to peices because I had waited too long to pull it. Then there's the fact that this method takes a fair amount of time.
The next option is the very fast and stinky one: boiling the skull. I've only ever been involved in an attempt to do this once. It seemed to work very well (and was quick) but the smell was very strong (even though we were outside). We used an old stock pot over a camp stove in a friend's driveway. The flesh came off pretty well, although some of the brain matter became sort of hard, like cooked meat, inside the skull. Thus, we had to try and pick it out through the foramen magnum (large opening at the back of the skull, where the brain stem exits and becomes the spinal cord). Ultimately we were forced to bring the skull inside and use a utility sink in the basement to to start scrubbing/washing away the tissue. Had we more time to let them boil, and also added some chemicals to the mix, the flesh may have just fallen off. Yet, although it's quick.....the stink is an issue, it's also alot of messing around. You don't want to boil a skull on your stove. You'd fill your house with that stink! You can do it outside on a grill or a propane stove, but that requires some work to set up and tear down. You also have to clean that pot out!
You can see a
recent post on Nature In a Nutshell where Alyssa incorporated this boiling method.
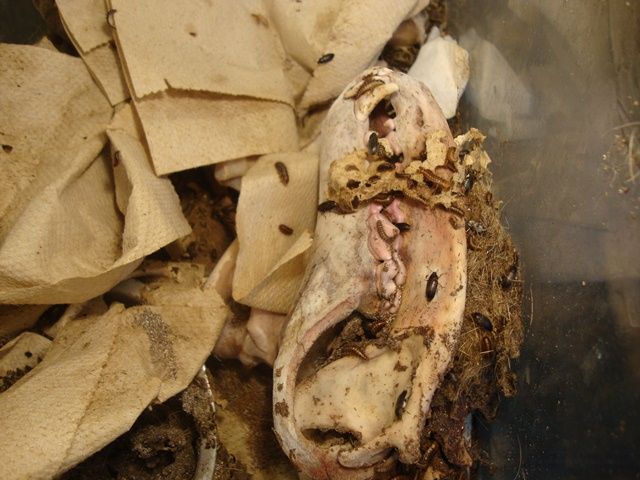
My preferred method of de-fleshing is to use flesh-eating (Dermestid sp.) beetles.

These are actually relatively easy to get ahold of. Some folks even collect their own from around carcasses found in the wild. I prefer to just have them purchased from a biological supply company (such as Wards Scientific). They are fairly easy to culture. We have a colony at the university that is housed in a 10 gallon fish tank. We have a sheet of glass over the tank (slightly cock-eyed so that a sliver of air can get in). Because the room we keep them in gets a tad cold, we also put a heat lamp over the tank. When you start the colony....it may require adding a few paper towels for them to hide in....but other than that, they don't need much. You just have to throw them dead things every once in a while. The number of beetles in your colony will dictate how quickly they clean your skulls. The more you feed them, the bigger the colony will get. But, a large colony can clean a fully-fleshed skull in a week or less. For example, a week ago I put four smallish heads and one medium-sized head in the colony and they came out today free of tissue.
Some points to consider about Dermestids:
- If they escape....they may attack taxidermied specimens, or skin collections! We've had this problem in the past. One way to keep them in the tank is to rub vasoline around the upper edge of the glass around the tank. The glass lid we use also makes a tight seal, which helps keep them inside (but we still have to leave a little crack for air). We also keep our colony in a back lab under a fume hood (they stink!).
- As they eat and excrete they create alot of fine particulate debris. This can build up in the tank. If your skull happens to get a bit buried in that fine debris the Dermestids don't seem to be adept at getting underneath to clean flesh off the buried surface. So I have to go in and rotate the skulls every so often. It might help if we put some sort of grate in the bottom, so the skulls rest on top and the detritis falls through....but we haven't done that yet.
- They wont eat hair or feathers. So...those will build up quickly in the enclosure (we usually remove as many as we can before putting a carcass in the colony for cleaning).
But....the Dermestid colony does a good job. Plus, I can put a head in and not worry about it getting damaged by the elements or stolen by a scavenger.....and I don't have to stink up the house or ruin a good stock pot from boiling heads!
De-scenting: There are a few steps I take after removing skulls from the Dermestid colony to reduce the smell. Seems like no matter how long you leave them in the colony for, the stink of carrion is still pretty strong. I find that sometimes eliminating that stink just takes time....as the skull dries out over time, the smell goes away. But, to help it along, I take these extra measures.
First put the skulls in the freezer overnight. As much as anything, this also helps kill any small Dermestid larvae that may be hanging around (can't have those escapees getting on the skin collection!).

The next morning, I remove the skulls and let them warm up a bit. Then I go through a two-step cleaning process. I first put the skulls in a strong bleach solution (90%) for a short amount of time, during which I check them frequently. The amount of time I leave them in for varies (5 to 30 minutes depending on how things look). Some folks will recommend you never use bleach on a skull, and I can't fault them in their logic. I wear rubber gloves and frequently remove the skull to check on how it's holding up (paying particular attention to the lower jaw to make sure the two mandibles are not starting to separate). But, basically I find you can't beat the bleach for really reducing the smell. Plus, the bleach helps sanitize, in the off chance there's a disease-causing agent hanging around somehow. Basically, so long as I watch the skull carefully, the damage is not noticeable (in fact, I've never noticed any serious damage to my skulls from the bleach solution).

After pulling them from the bleach, I rinse them thoroughly for 5 minutes or so with water. I then put them into a strong ammonia solution (90%). I leave them in this for about the same amount of time as the bleach, again making sure to check on them frequently. Once I feel they are as good as they'll get, I rinse them in water again.
The next step is to let them dry for a few hours.
Whitening: I've used two methods for whitening skulls. First, I've just set the skull out in a sunny spot for a few weeks to let nature take it's course. Usually the sun really helps whiten the skull, but this takes time. Also, if it's a little skull, it could get damaged by the elements. So I employ an alternative method told to me by a friend who used to do taxidermy. It requires two ingredients: chalk and peroxide. However, not just any chalk will do. It has to be magnesium bicarbonate, which is chalk often used by weight lifters or rock climbers for helping get a grip. I found a nice sized container at REI. You also can't use your run-o-the-mill peroxide. You need a special type of peroxide called "40 Peroxide" that's usually avialable from a beauty supply store or a hair salon supply store.

The peroxide and the chalk must be mixed together to form a sort of paste. I usually do this in a plastic cup. I next spoon this paste over the skull. It has to rest in place and dry on the skull, so the consistency of the paste must be such that it doesn't just run off of the skull. You also have to get it in all the cracks and crevices. Sometimes this requires back-to-back treatments.
After the paste is in place, I let everything sit and dry at least overnight....sometimes for two nights.
Once the paste is completely dry, it's a matter of simply knocking and brushing it off. I try to knock the large chunks onto a plate, as I've found I can re-use the chalk. Then I take a fine bristle brush and lightly scrub the chalk off of the entire skull surface. I also usually wear gloves as the powder can burn alittle if you brush it all over your hands and hold the skull for a while (especially if your fingers also somehow get damp).
Once the dry paste has been completely brushed off, it's a matter of using super glue to make sure all the teeth, etc. stay in the right place. I also use glue to secure the seams between the different major bones in the skull (i.e., the frontals, the parietals, etc.). Note that there still may be some stink (particularly from inside the brain case). I try and reduce this further by spraying Krylon Clear Coat into the brain case several times. Even that may not completely do it, and the smell may only go away with time.
The final product looks pretty good and creates a nice teaching specimen.
See the comparison below. On top is the picture of the skulls right out of the ammonia solution (they are a little wet, which makes them darker than usual). Below that is the end result after the paste has dried and been brushed away.