Wednesday, March 20, 2013

The Unwelcome Old Man and Skunks by the Crescent Moon

Old man winter still has a firm grip on the upper Midwest.

I love the snow and cold, but this time He's screwed up one of our lab exercises........

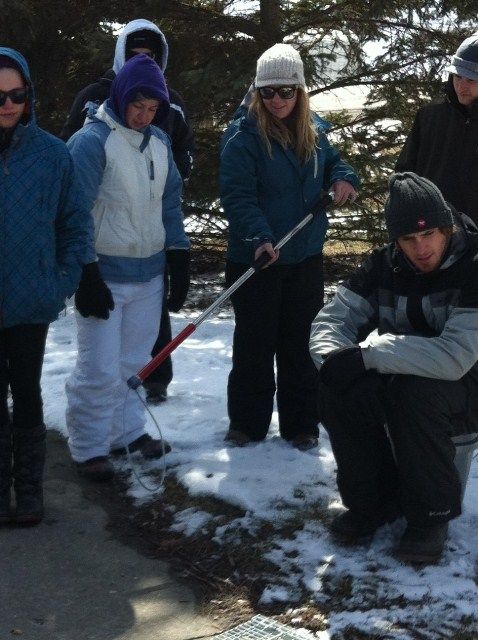
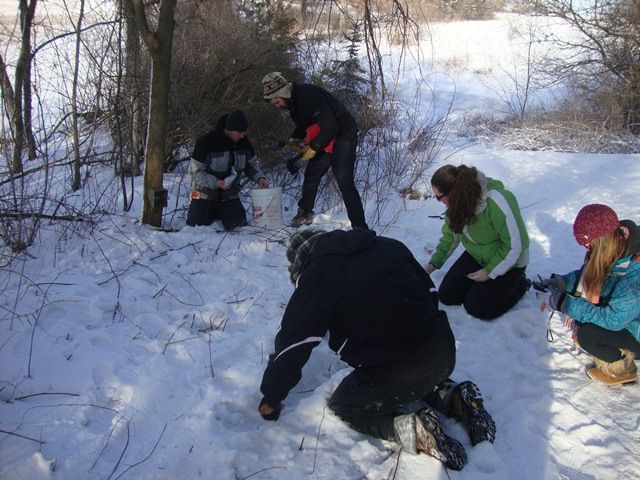
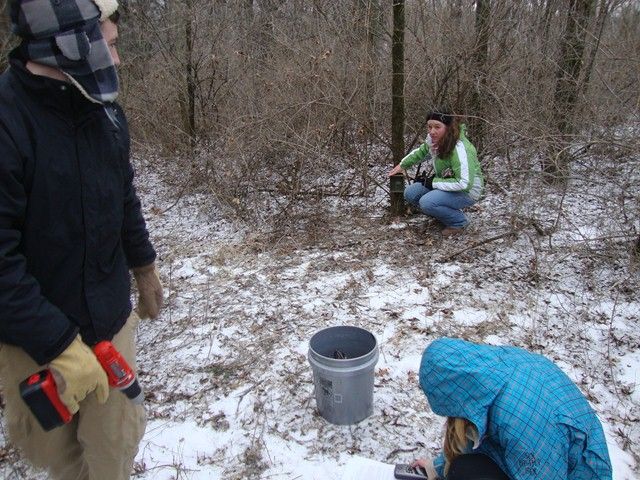
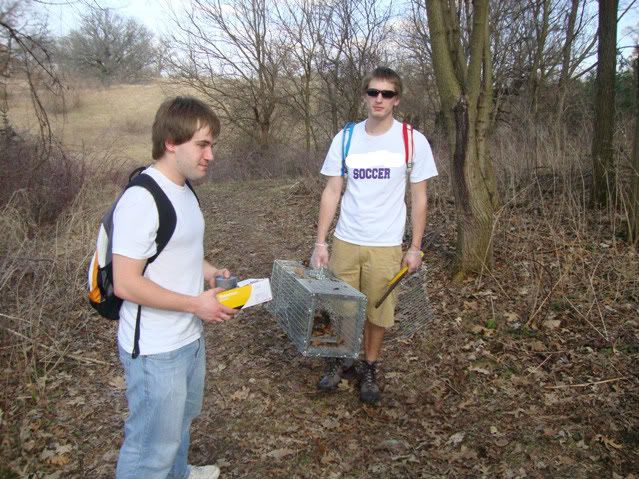
Normally, this week is for medium-sized mammal trapping with wire cage traps.  In fact, last year...the weather was perfect for such an endeavor, as depicted in this picture from almost exactly a year ago today.

But because the Old Man keeps peeking in on us this year, we have recently experienced another bit of snow and nighttime temperatures dipping to below 10 degrees (F) for two days in a row.  Even as I type this....it is only 11 degrees (F) outside and I'm wearing my extra-heavy smartwool socks!

There is no small amount of irony in the fact that today is technically the first day of spring, or the vernal equinox.

Granted, it's possible we could have set this up so that any captured critters wouldn't freeze to death (placing alpaca wool into the cages...putting the cages in sheltered locations....place spruce boughs around them to block the wind) but I don't want to take any chances.
Photo by L. Schulte
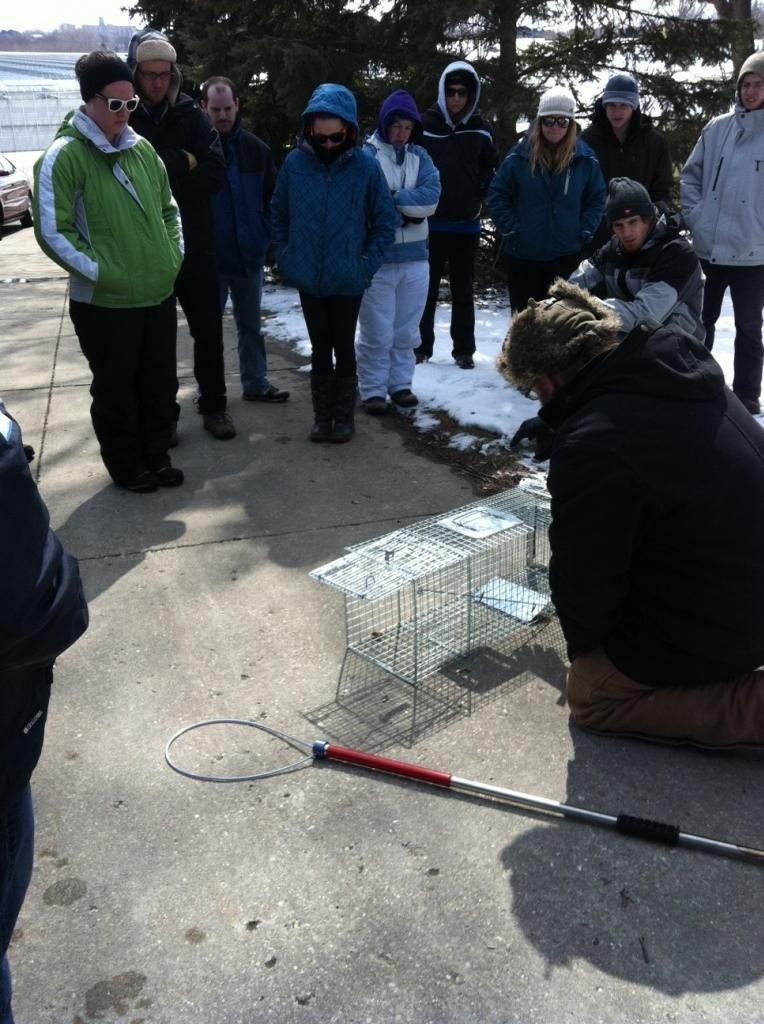
Thus, today involved review of how the traps work, a discussion of various other traps employed to catch mammals, and scoping the site for locations (in addition to upkeep of their ongoing monitoring projects on-site).
Photo by L. Schulte

Luckily, I had somewhat planned for this possibility and scheduled two weeks of mammal trapping (and seeing next week is Spring Break....we may have enough time for things to warm up before we try this again!).

I shouldn't be shocked by anything this year, I guess.  There has been quite a trend for cold and snow (unlike last year).  You can see some past examples here and here.  There have been other snowy lab periods since then.

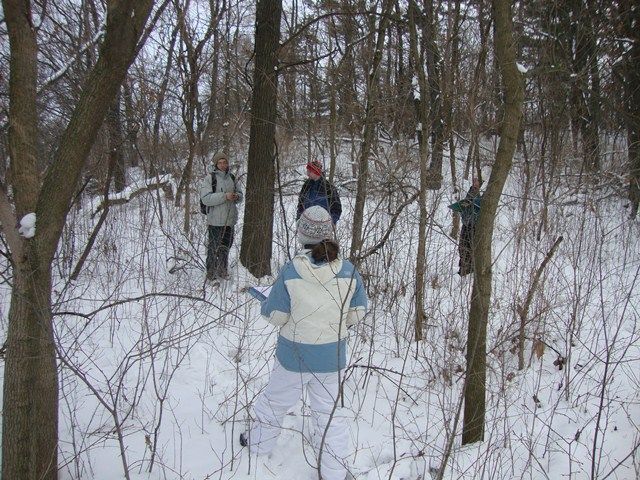
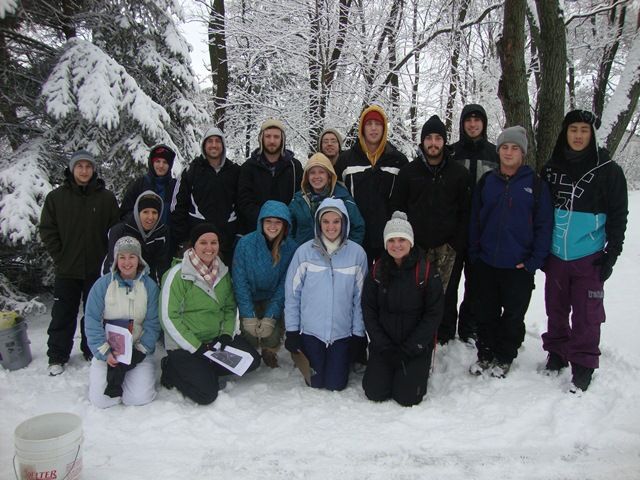
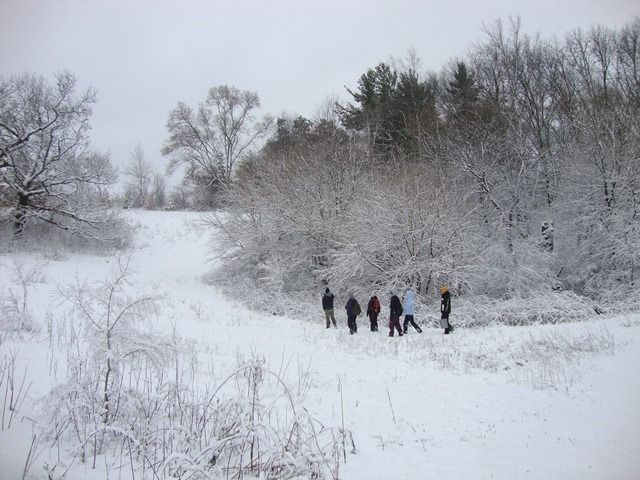
For example, we collected data in the snow to quantify forest community type and composition a while back......
Photo by L. Schulte


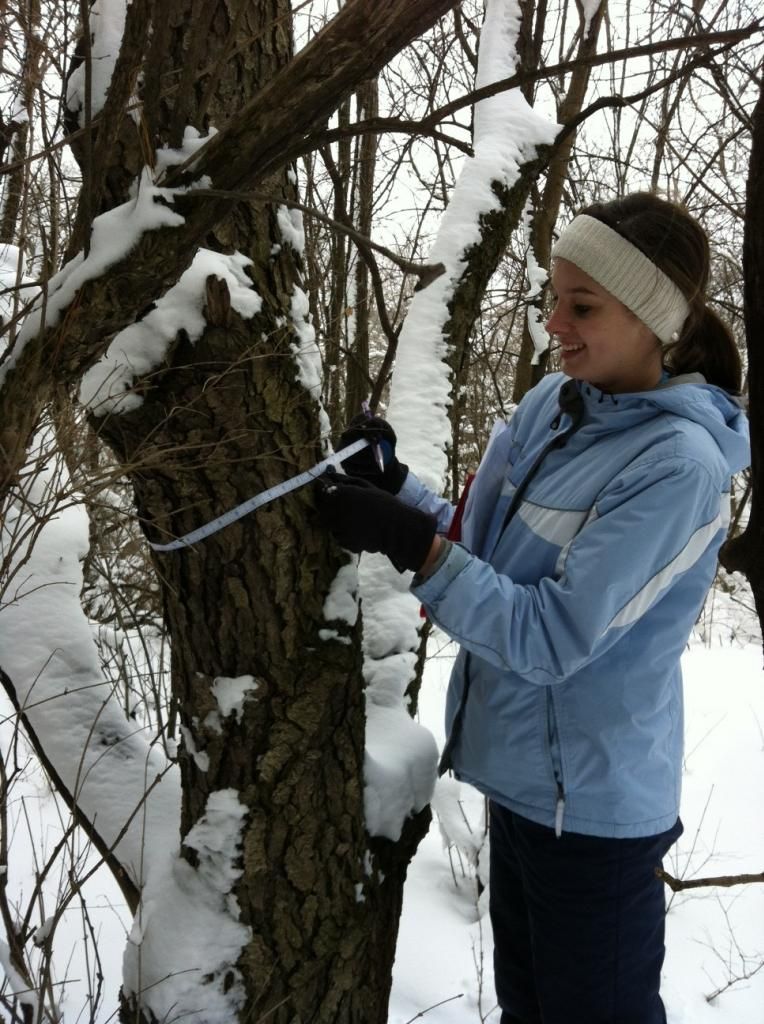
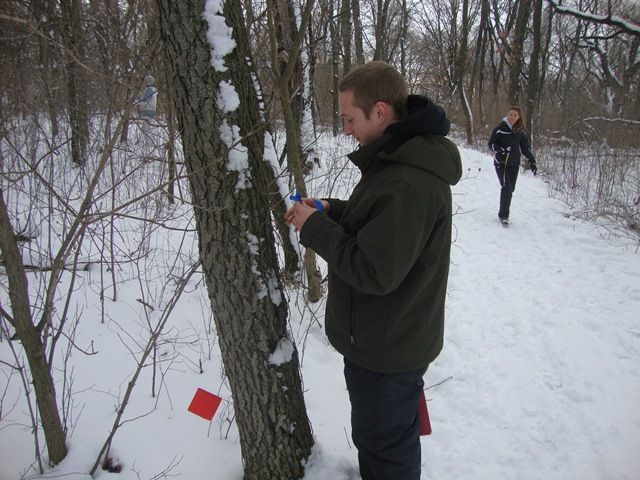
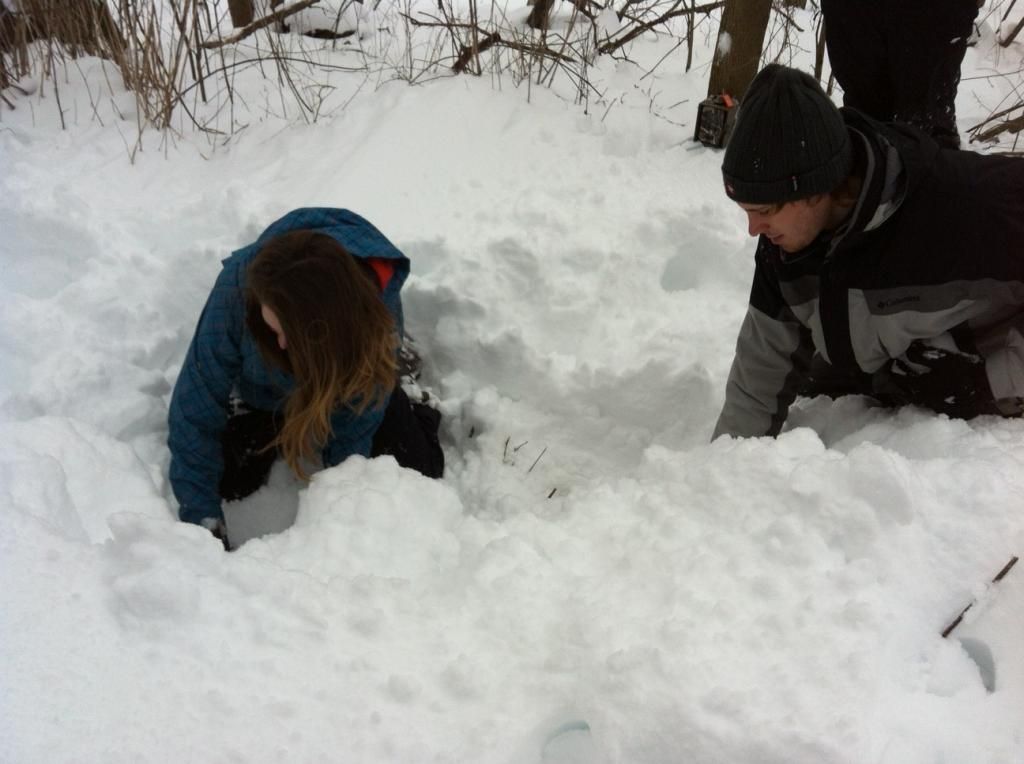
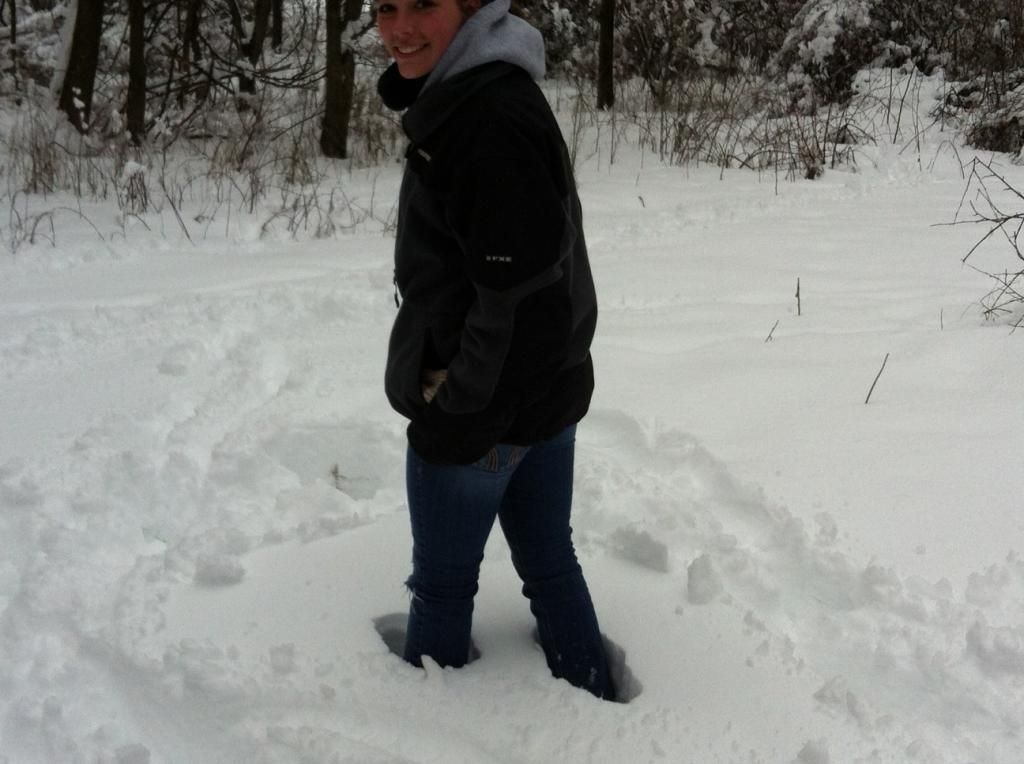
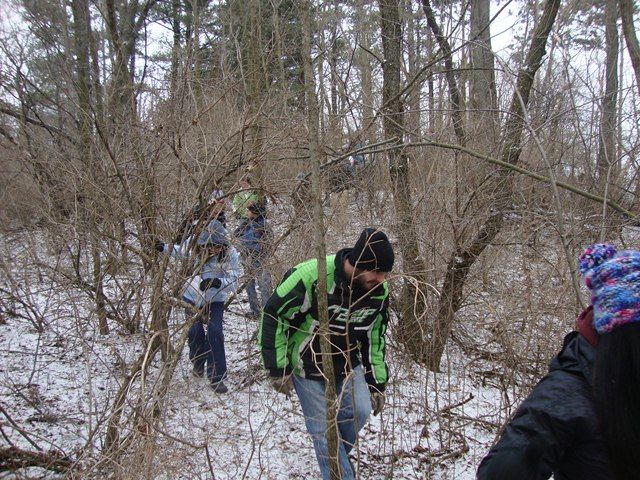
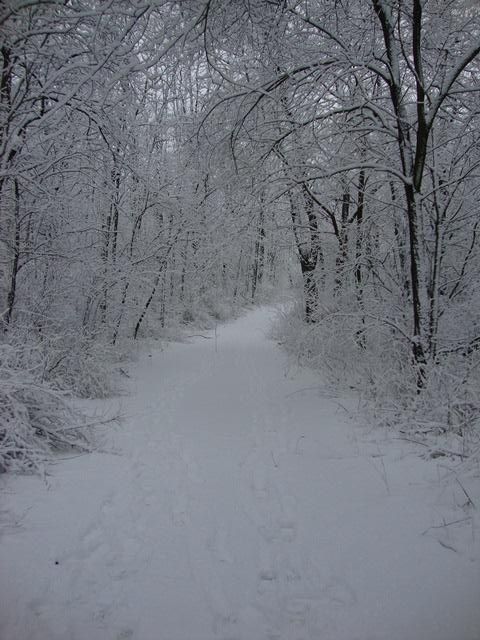
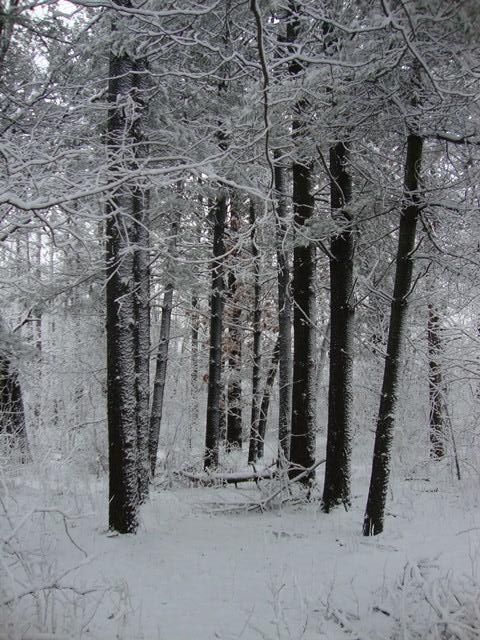
And several weeks ago, as we worked on determining the age distribution of Black Cherry Trees (Prunus serotina), we dealt with probably the deepest snow of the 2012/2013 winter (and it all fell within 24 hrs).  See examples of how deep that snow was below...
Photo by L. Schulte
Photo by L. Schulte
The critters are still moving about, though....

I particularly like the pictures below.

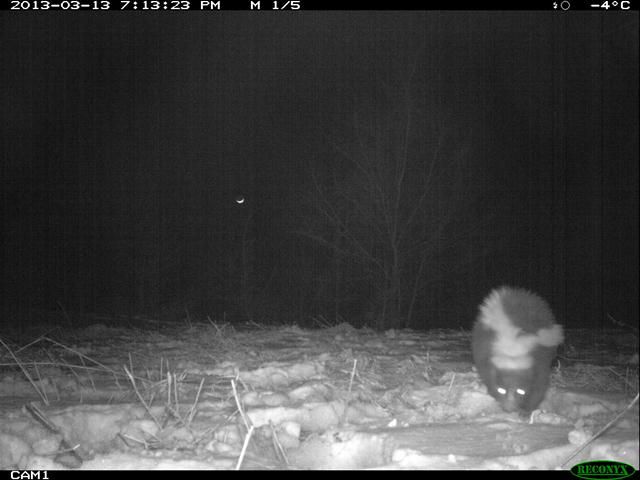
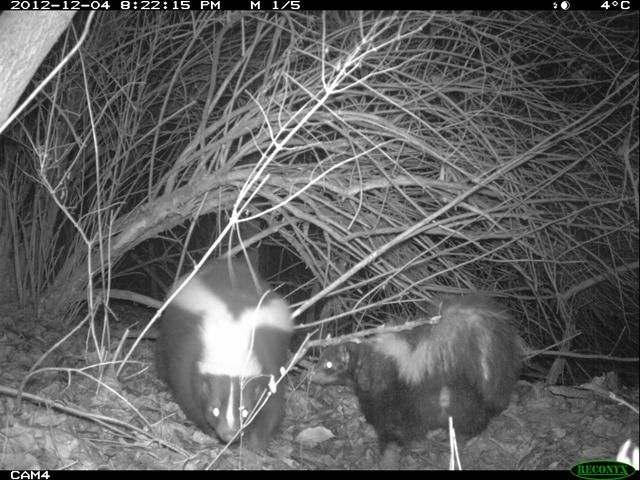
The crescent moon behind this Striped Skunk is kinda neat....

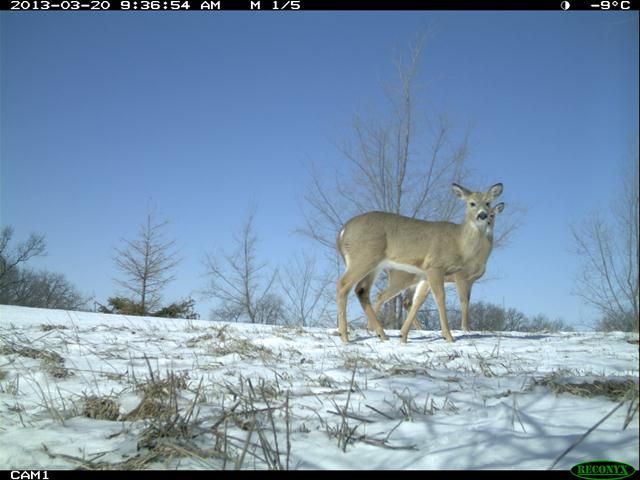
...and these White-tails look nice against that bright blue sky.....

Interestingly, the entire site was criss-crossed with Canine tracks today (Red fox and possibly 'Yote), but we didn't get a single picture on our cameras over the last week.  We had several come close (based on tracks) and one actually marked within ~22 meters on two sides of one of our cameras.

More Phenology Updates:

On Monday, March 18th, I saw my first Killdeer (Charadrius vociferus) of the year.

Bit of a slow week out there.

Stay tuned.

Friday, March 15, 2013

The Fisher-Cat and More Phenology 2013

The student Wolf project finally generated a clip of a Fisher (Martes pennanti) that was worth posting.

This was taken at 7 am on February 18th, 2013.

Given the soft-spot I have for Mustelids.....I thought it was pretty neat to get a Fisher clip, and the students were excited as well.  Fishers are particularly interesting because they are a carnivore that has figured out how to get around that battery of quills protecting the North American Porcupine (Erethizon dorsatum).  The Fisher apparently achieves this by focusing its efforts on the Porcupine's face, where there are no quills, with repeated attacks until the prickly rodent is worn down by blood loss and/or shock.

The history of the Fisher, the Porcupine and overharvesting is particularly interesting, as it starts way back in 19th and early 20th centuries (reviewed by Nowak 2005).  Fishers were heavily harvested by early trappers in North America during this time, which also happened to other furbearing species, such as the Beaver (Castor canadensis, a story I've recounted for you all before).  As a result, the Fisher-Cat was nearly extirpated from the U.S., and with numbers dramatically lowered in Canada.  At this point, it is probably important to appreciate the effect that Fishers can apparently have on Porcupine populations.  An interesting study was published by Earle and Kramm (1982) that compared porcupine populations in two locations:  one with Fishers (due to a re-introduction) and one without.  They estimated Porky population densities of 40 / 100 km-squared in the area with Fishers, and densities of 350 / km-squared in areas without Fishers!  According to Nowak (op. cit.) the loss of the Fisher to excessive trapping lead to a concomitant rise in Porcupine numbers, who proceeded to do "considerable forest damage".  This made the Porcupine unpopular within the timber industry (Roze 2009).  Thus, efforts were made to protect the Fisher in order to control the number of Porcupines.  Such efforts included more stringent laws and closed trapping seasons to help conserve the Fisher.....which were coupled with several successful re-introductions....has lead to the re-bound of Martes pennanti in the U.S.
________________________________________________________________________

Phenology:

The last week (March 10th through the 15th) has also yielded a host of new phenological events for 2013.

On Sunday (March 10th) I saw the first Sandhill Cranes (Grus canadensis) of the year.
Photo source: Wikipedia

On March 10th I also saw the first American Robin (Turdus migratorius) of the season.
Photo source: Wikipedia

Today (March 15th) I observed two other "firsts" for the year: I heard the first Red-winged Blackbirds (Agelaius phoeniceus) calling of 2013, and the first strutting/displaying Tom walkin' birds (Meleagris gallopavo) of the year (THREE Toms displaying amongst a group of 15 birdds near campus).  As an aside, the first Red-winged Blackbird call I heard last year was March 1st.
Photo source: Wikipedia

Things have been chaotic busy!  Hopefully more to post soon!
_______________________________________________________________________

Literature Cited:

Earle, R.D., and K.R. Kramm. 1982. Correlation between fisher and porcupine abundance in upper Michigan. The American Midland Naturalist 107:244-249.

Nowak, R.M. 2005. Walker's Carnivores of the World. Johns Hopkins University Press, Baltimore.

Roze, U. 2009. The North American Porcupine (second edition). Comstock Publishing, Ithaca.

Wednesday, March 6, 2013

Skulls and Skull Cleaning: Part II

In my last skull post, I didn't get to outline any of the techniques I use for actually cleaning and whitening skulls.

So, figured I should get to that now, for anyone interested.

Before I begin, I should preface this by saying that you should always wear gloves when handling animal carcasses (whether recently dead or otherwise).  I prefer nitrile gloves, but latex or rubber gloves would probably suffice, as long as you don't keep them and re-use them.  The risk of zoonotic infection from a number of species can be rather high, and it's just not worth the risk.  I wear gloves when I'm handling carcasses, heads or skulls (until the skulls are completely finished).  I even put bags over my boots if I'm using a foot to hold a road-killed animal still while sawing off a head for cleaning.  The saws, etc. are all cleaned with laboratory grade detergent, or a bleach solution.  I know some folks that scoff at this....but that's being reckless, in my opinion.  For interested folks, The Wildlife Professional recently published a good review on the risks that zoonotic infections pose to wildlife biologists (Yabsley, Fischer, Hernandez, 2012. The lethal jump from wildlife to humans. The Wildlife Professional, Spring 2012 Issue; pg 24-28).  There's some serious stuff out there, and a large number of wildlife biologists have died as the result of infection from such diseases.

De-fleshing:  This is probably the task that keeps most people from getting into cleaning skulls.  It can be incredibly messy and is often a stinky proposition.  Yet, there are a number of ways to go about removing the flesh from a skull you find....one very fast and stinky.....one moderately quick and stinky....the other takes alot time, but one can avoid the associated stinky.

Let's start with the last one first: obviously one can just collect a carcass they find....set it in a place they know is protected from scavengers (and also away from any open windows) and let nature take its course.  This can be very effective....but there's always the scavenger problem.  Plus, it's easy for little teeth, etc. to fall out and get lost.  I've had some success avoiding this by first putting the carcass in a small container covered in screen (like a funnel trap used to catch minnows).  This technique worked fine for me with a weasel skull I cleaned many years ago....but another time was a total disaster with a mink skull I attempted to clean.  In the latter example, when I went back several weeks later, the skull had fallen to peices because I had waited too long to pull it.  Then there's the fact that this method takes a fair amount of time.

The next option is the very fast and stinky one: boiling the skull.  I've only ever been involved in an attempt to do this once.  It seemed to work very well (and was quick) but the smell was very strong (even though we were outside).  We used an old stock pot over a camp stove in a friend's driveway.  The flesh came off pretty well, although some of the brain matter became sort of hard, like cooked meat, inside the skull.  Thus, we had to try and pick it out through the foramen magnum (large opening at the back of the skull, where the brain stem exits and becomes the spinal cord).  Ultimately we were forced to bring the skull inside and use a utility sink in the basement to to start scrubbing/washing away the tissue.  Had we more time to let them boil, and also added some chemicals to the mix, the flesh may have just fallen off.  Yet, although it's quick.....the stink is an issue, it's also alot of messing around.  You don't want to boil a skull on your stove.  You'd fill your house with that stink!  You can do it outside on a grill or a propane stove, but that requires some work to set up and tear down.  You also have to clean that pot out!

You can see a recent post on Nature In a Nutshell where Alyssa incorporated this boiling method.

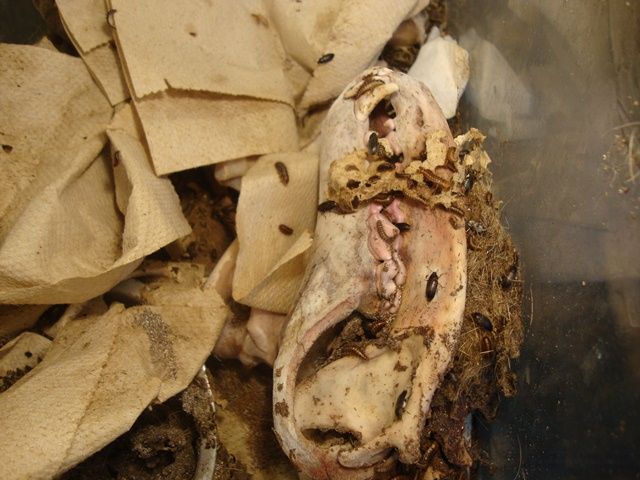
My preferred method of de-fleshing is to use flesh-eating (Dermestid sp.) beetles. 

These are actually relatively easy to get ahold of.  Some folks even collect their own from around carcasses found in the wild.  I prefer to just have them purchased from a biological supply company (such as Wards Scientific).  They are fairly easy to culture.  We have a colony at the university that is housed in a 10 gallon fish tank.  We have a sheet of glass over the tank (slightly cock-eyed so that a sliver of air can get in).  Because the room we keep them in gets a tad cold, we also put a heat lamp over the tank.  When you start the colony....it may require adding a few paper towels for them to hide in....but other than that, they don't need much.  You just have to throw them dead things every once in a while.  The number of beetles in your colony will dictate how quickly they clean your skulls.  The more you feed them, the bigger the colony will get.  But, a large colony can clean a fully-fleshed skull in a week or less.  For example, a week ago I put four smallish heads and one medium-sized head in the colony and they came out today free of tissue.

Some points to consider about Dermestids
  • If they escape....they may attack taxidermied specimens, or skin collections!  We've had this problem in the past.  One way to keep them in the tank is to rub vasoline around the upper edge of the glass around the tank.  The glass lid we use also makes a tight seal, which helps keep them inside (but we still have to leave a little crack for air).  We also keep our colony in a back lab under a fume hood (they stink!).
  • As they eat and excrete they create alot of fine particulate debris.  This can build up in the tank. If your skull happens to get a bit buried in that fine debris the Dermestids don't seem to be adept at getting underneath to clean flesh off the buried surface.  So I have to go in and rotate the skulls every so often.  It might help if we put some sort of grate in the bottom, so the skulls rest on top and the detritis falls through....but we haven't done that yet.
  • They wont eat hair or feathers.  So...those will build up quickly in the enclosure (we usually remove as many as we can before putting a carcass in the colony for cleaning).

But....the Dermestid colony does a good job.  Plus, I can put a head in and not worry about it getting damaged by the elements or stolen by a scavenger.....and I don't have to stink up the house or ruin a good stock pot from boiling heads!


De-scenting: There are a few steps I take after removing skulls from the Dermestid colony to reduce the smell.  Seems like no matter how long you leave them in the colony for, the stink of carrion is still pretty strong.  I find that sometimes eliminating that stink just takes time....as the skull dries out over time, the smell goes away.  But, to help it along, I take these extra measures. 

First put the skulls in the freezer overnight.  As much as anything, this also helps kill any small Dermestid larvae that may be hanging around (can't have those escapees getting on the skin collection!).
The next morning, I remove the skulls and let them warm up a bit.  Then I go through a two-step cleaning process.  I first put the skulls in a strong bleach solution (90%) for a short amount of time, during which I check them frequently.  The amount of time I leave them in for varies (5 to 30 minutes depending on how things look).  Some folks will recommend you never use bleach on a skull, and I can't fault them in their logic.  I wear rubber gloves and frequently remove the skull to check on how it's holding up (paying particular attention to the lower jaw to make sure the two mandibles are not starting to separate).  But, basically I find you can't beat the bleach for really reducing the smell.  Plus, the bleach helps sanitize, in the off chance there's a disease-causing agent hanging around somehow.  Basically, so long as I watch the skull carefully, the damage is not noticeable (in fact, I've never noticed any serious damage to my skulls from the bleach solution).
After pulling them from the bleach, I rinse them thoroughly for 5 minutes or so with water.  I then put them into a strong ammonia solution (90%).  I leave them in this for about the same amount of time as the bleach, again making sure to check on them frequently. Once I feel they are as good as they'll get, I rinse them in water again.

The next step is to let them dry for a few hours.

Whitening: I've used two methods for whitening skulls.  First, I've just set the skull out in a sunny spot for a few weeks to let nature take it's course.  Usually the sun really helps whiten the skull, but this takes time.  Also, if it's a little skull, it could get damaged by the elements.  So I employ an alternative method told to me by a friend who used to do taxidermy.  It requires two ingredients: chalk and peroxide.  However, not just any chalk will do.  It has to be magnesium bicarbonate, which is chalk often used by weight lifters or rock climbers for helping get a grip.  I found a nice sized container at REI.  You also can't use your run-o-the-mill peroxide.  You need a special type of peroxide called "40 Peroxide" that's usually avialable from a beauty supply store or a hair salon supply store.

The peroxide and the chalk must be mixed together to form a sort of paste. I usually do this in a plastic cup.  I next spoon this paste over the skull.  It has to rest in place and dry on the skull, so the consistency of the paste must be such that it doesn't just run off of the skull.  You also have to get it in all the cracks and crevices.  Sometimes this requires back-to-back treatments. 

After the paste is in place, I let everything sit and dry at least overnight....sometimes for two nights.

Once the paste is completely dry, it's a matter of simply knocking and brushing it off.  I try to knock the large chunks onto a plate, as I've found I can re-use the chalk.  Then I take a fine bristle brush and lightly scrub the chalk off of the entire skull surface.  I also usually wear gloves as the powder can burn alittle if you brush it all over your hands and hold the skull for a while (especially if your fingers also somehow get damp).

Once the dry paste has been completely brushed off, it's a matter of using super glue to make sure all the teeth, etc. stay in the right place.  I also use glue to secure the seams between the different major bones in the skull (i.e., the frontals, the parietals, etc.).  Note that there still may be some stink (particularly from inside the brain case).  I try and reduce this further by spraying Krylon Clear Coat into the brain case several times.  Even that may not completely do it, and the smell may only go away with time.

The final product looks pretty good and creates a nice teaching specimen.

See the comparison below.  On top is the picture of the skulls right out of the ammonia solution (they are a little wet, which makes them darker than usual).  Below that is the end result after the paste has dried and been brushed away.

Wednesday, February 27, 2013

Phenology 2013: Skunks about and students in "lab"

During the week February 20th, we saw evidence of active Striped Skunks (Mephitis mephitis) for the first time since December.

For example, while out and about with my advanced ecology students, I found some nice tracks.

 
These are some of the better skunk tracks I've come across.  As Halfpenny and Biesiot (1988)mention, skunks have a plantigrade print.  In other words, as they walk, their flat foot (heel and all) comes entirely into contact with the ground.  Contrast this with the digitigrade tracks of canines, whom basically walk on their toes (or digits....see the fox prints below and elsewhere on this blog).  Skunk tracks can be fairly easy to identify, if you get a good print, due to the chunky-looking pads on the heel and ball of the foot (which are clearly separated from eachother).  Yet, Halfpenny and Biesiot also also state that skunk tracks are often "indistinct due to the sloppy walking and long hairs on the feet".

So, I felt fortunate to find such nice prints.

The last good evidence of active skunks on-site was a brief glimpse during our first snow-storm of the winter (seen below investingating an old burrow) back in late December. 
 
Prior to that, it was early December.  This was an also during an uncharacteristically warm beginning to the winter.

But...now they are on the prowl again.  February can be an important breeding period for them 'round here.  Interestingly, it is also the same time (within a couple of days) that I first got pics of them active in 2012 at this site (see here).

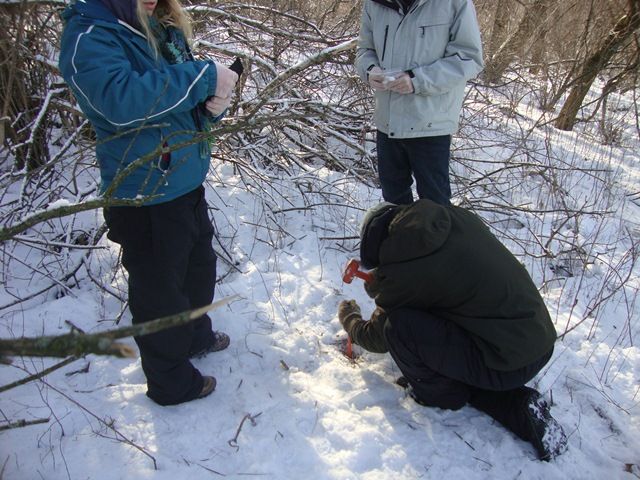
The students were also setting up some scent stations last week during "lab" (outdoor lab, that is....indoor labs give me a case of the BORINGS! :)  ).  This is similar to the experiment we set up last year.

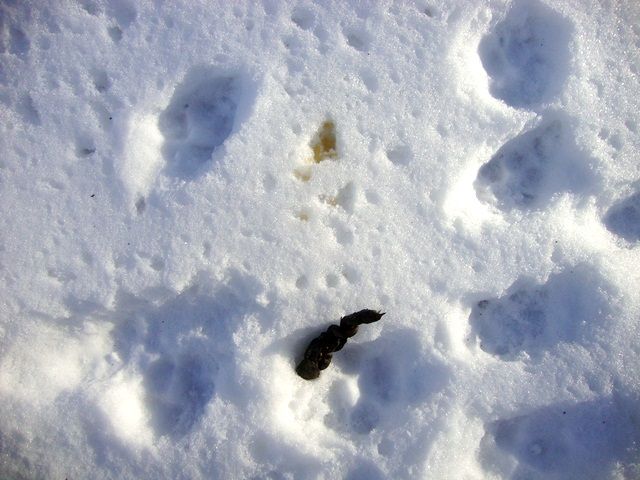
A good indication that you've found a decent spot is the presence of scat....tracks....or a urine mark.  So, how about all three?!
I'd say that if a Red Fox (Vulpes vulpes) decides to leave that much sign around, it's a good spot for a camera set and scent station.  An interesting thing to note: look at how small that urine spot is?  Probably not alot of urine deposited when marking that location.  Do you y'all think that might give a good indication of how much scent one should put down to attract fox?

This year, unlike last year, frozen ground was a force to be reckoned with.
But they managed...

Now we wait to see who meanders by.....

Friday, February 22, 2013

An Interlude of Mink


At about 10:43 pm on the evening of February 18th, the dog scratched at the front door.

He's getting old now (over 12 years) and although I usually take him out right before bed.....I didn't want to risk making him wait, given his advanced age.

The temperature had been into the 40s during the day, and it had rained steadily since about 5 pm.  As has happened several times this winter, most of the snow had also melted, so everything outside was sloppy.  At around 9 pm, the temperature dropped and that rain became a wet, heavy snow.  By the time our dog scratched at the door, the snow was already about 1.5 inches deep.

I was in the middle of grading an assignment that my students had just turned in and didn't really want to stop at that moment to take the dog out.  Yet, I figured I better not push his old bladder.  I knew there was snow outside....but not enough to warrant my boots (the dog just walks along the driveway, usually).  I slipped on my "winter resistant" mocs (warm, but don't cover the ankle and not fully water proof).  I was also wearing light flannel pants that were a tad too long....but figured I didn't need to switch into anything warmer just to take the dog out quickly.

So, I threw on my winter coat and gloves, threw the leash on the dog and stepped outside with the flashlight.  Sleety snow was coming down pretty heavily.  The front yard was fairly well lit up (the snow was fresh and the cloudy sky must have been reflecting enough light back from town nearby).  As I was letting the door shut behind me, I happened to glance out into the front yard.

Before my eyes, a dark, elongated shaped bounded across the front yard towards the large spruce trees along the south border.  I was so astonished that I completely forgot about my flashlight until the last minute.  I turned it on just in time to shine the critter as it bounded around to the back of one of the spruce trees.  It's fur was very dark, altough it's back and tail were covered in snow.

That's gotta be a mink, I said to myself.

I had never seen mink near the house before....although I had seen roadkill along the creek not far from here.

I quickly walked up along the driveway to the road in the hopes that I'd see the mink if it was crossing.

Nothing.

So, the dog and I plunged into the newly fallen, wet snow to find the trail.  The tracks and trail indicated the animals was clearly a mustelid.  Bounding gait, five toes, and the trail led all over the place in an almost chaotic fashion.  It appeared to stop frequently and dig into the snow (for what, I'm not sure), only to keep moving.  The dog and I followed it frantically....through snow covered wet grass and into the apple orchard to the east.  Here the trail continued to meander almost aimlessly, circling back...stopping to dig.  At one point, I saw a fresh, glistening pile of scat.  I couldn't make anything out in the excrement that would indicate diet...and my flashlight wasn't the best, anyways, so we kept moving.  I was hoping to find where the critter went to, or came from.

Finally, the trail in this direction had looped around itself when I wasn't paying close enough attention.  As a result, it mixed with my tracks and the dog's...plus the sleet was covering my glasses....and I lost the trail.  It's possible I could have found it again, but wanted to see if I could located the other end of the mink's trail somewhere to the south.  So I moved over to where I saw the it go around the spruce tree.  My "too long" flannel pants were now getting soaked around the ankles....and snow balls were starting to form on the cuffs, which slapped around as I trudged through the snow (man, it was a dumb move not to have better leggings on!).  My less-than-appropriate footwear was also starting to threaten it would give in, but I was hoping to get an idea of where the critter was heading too.

Around the spruce tree, the snow had not started to collect yet.  I only found fragments of the trail here and there.  I tried shining my flashlight under the bottom boughs to see if I might catch a glimpse of eyes shining back at me......but no luck.  I had a brief concern that maybe I had actually seen a skunk (what an unpleasant thing, to be sprayed in the face while peering into the lower boughs of a spruce tree).  Yet, there is no way a skunk bounds like that....or had the tubular body like a mink. 

The dog and I wandered around the spruce trees for a few more seconds, as I hoped to pick up the trail again, but our tracks just made things indistinguishable.  Plus, I was getting alittle cold by that point and my glasses were so covered in sleet that they were more of a liability than not. 

So, we headed back up to the house. 


Although we didn't figure out the entire mystery, we still got to see a mink!

I have to remember to thank the old boy for making me get up from my computer.

______________________________________________________________________

BTW....the videos above are from a completely different location than the one in my story.  If you are interested in knowing what these Mink might be looking for....here's an idea.....

Saturday, February 16, 2013

Wild Cat O' the Woods....


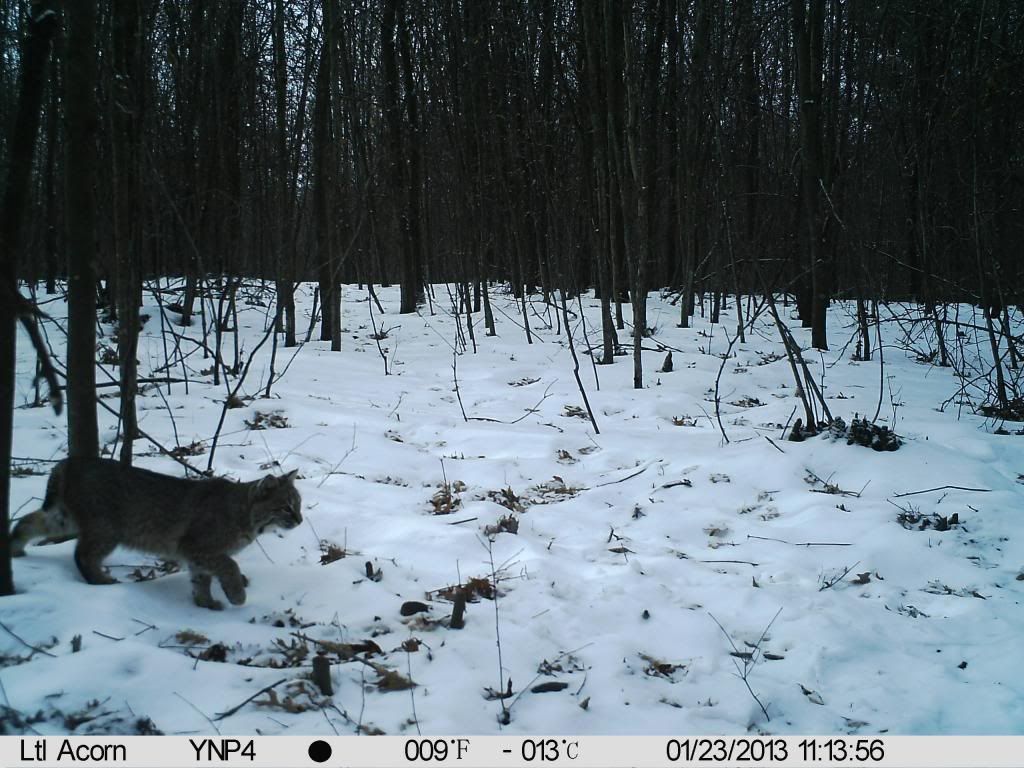
There are lots of reasons to celebrate getting pictures of a Bobcat (Lynx rufus).  In fact, a picture of any feline that isn't a feral puddy tat is cause for celebration.

Bob-tailed Cats are not rare in some parts of the upper Midwest.   We don't get them further south, down by the university...but they are fairly common in northern locations. 

Yet, even in the north where they are more common, they exist in lower densities than some of the other carnivores (e.g., Red Fox, Coyote, and even Wolves).  They are solitary....which is part of the reason their densities are naturally lower (i.e., they don't run in packs and rarely in pairs outside of the breeding or young-rearing seasons).   

Ultimately we don't get them anywhere near as frequently here as the good folks out west over at Camera Trapping Campus, The Nature of a Man, the Camera Trap Codger, and Romping and Rolling in the Rockies.......so I can't help but put alittle bit of fanfare into any Bobcat captures (there have only been two others to report, one of which was from my time in North Carolina: here and here).

The picture above and associated video clip below were obtained during one of the Wolf projects my students currently have ongoing.  All of my other 'cat pics are night shots....so it was nice to get a daytime color picture.  They consume many species of small mammal (from rabbits to rodents), and I imagine this one is on the prowl for calories day and night to maintain a positive energy balance in these cold winter months.

The video clip shows him checking out some of the scent we put down.  From that twitching tail, I'd guess he's interested......

Friday, February 8, 2013

Skulls and Skull Cleaning: Part I

I find skulls fascinating.

First of all, so much can be learned from their close inspection.  This includes the likely diet of the organism in-question (at least in a general sense)...prominant muscle attachment areas, which provide information on life history....and important information about sensory function and brain-size (just to name a few).

I'm obviously not alone in this.  Just about anyone I know who is interested in vertebrate ecology (and obviously morphology) is also a "skull-o-phile".

Anyhoo....figured the best way to share my love of skulls with you all was to dig into the university's specimen collection and show you some examples.

We can start with one of my favorite groups, the reptiles.....

Reptiles:

Look at the teeth of a crocodilian (in this case, a small Black Caiman; Melanosuchus niger).

Very impressive chompers!  Incredibly sharp...well-suited for grabbing prey and holding it fast.  This is perfect for an ambush predator that lunges out of the water to grab a critter that's come down for a sip.

BUT...as impressive as these teeth are...they are alittle "one-dimensional".  In other words, they are mostly the same in shape (large, sharp and conical), because they all serve a similar purpose: grabbing, holding, tearing prey.

Here's another interesting example....the turtle.  Although also a reptile, the turtle's mouth is not filled with teeth.  Rather than teeth, turtles have flat, sharp, cutting plates....that resemble a sort of "beak".  These cutting plates have are sheath made of keratin (which is protein-based and similar to our fingernails) that is over the bones of the jaw.  The example below is the skull of a Snapping Turtle (Chelydra serpentina; previously known as the Common Snapping Turtle).


This lack of teeth (among other features) differentiates turtles from the rest of the reptiles.  In fact, they are in their own Order (Testudines).  Note: other well-known reptiles belong to the Orders Squamata (lizards & snakes), and Crocodilia (crocodilians).

Also, check out the large projection of bone coming off the back of the skull (appearing similar to a crest).  This bone, called a supraoccipital bone, creates a large area for muscle attachment....these muscles are involved in bringing those jaws closed with the force that snapping turtles are renowned for.  The muscles also play an important role in pulling the head into the shell and keeping it there, where it is protected.

Mammals:

Now let's move on to some mammals....

Mammal teeth, unlike reptile teeth, are "differentiated".  In other words, they are not all uniform in shape, size and general purpose.  Think of your own teeth.....feel around in your mouth with your tongue...it's fun!.  As mammals, we have incisors, pre-molars and molars that all differ in their shape and general use.

These teeth are also modified among the different groups of mammals and reflect their various feeding styles/preferences.

Herbivores:

First, a herbivore.....the White-tailed Deer (Odocoileus virginianus)
Artiodactyl skulls are easy to identify, as most  lack upper incisors.  They also have teeth that are very well designed for thoroughly masticating (chewing) tough food: vegetation.

Check out these grinders!  They are broad and sharply ridged so that when used appropriately can grind the heck out of even very tough vegetation....in an effort to break it down as much as possible before passing it to the digestive system.

Now compare the WTD to a herbivore specialized for chewing: a rodent.  In this case, one of my favorite rodents: the North American Beaver (Castor canadensis). Rodents have large incisors, immediately followed by a large gap, or arch with no teeth, called a diastema.

Rodents have the broad, flat and ridged pre-molars/molars, for grinding vegetation, that one would expect of a herbivore....

But, as you can see in the top picture of the Beaver above.....they also have those large incisors shaped like chisels.....which is exactly what they are used for.  Rodents can use those large chisels to chew with great effect.  In the case of the Beaver...as you all know.....they can even chew through tree trunks!  Other groups (such as Lagomorphs like rabbits) also have a large gap between chisel-like incisors and molars...but Rodent incisors are different than those of bunnies.  The action of chewing actually helps sharpen rodent incisors, due to the thick layer of enamel on the front relative to the back of these teeth.  As they rub together....this actually results in the incisors sharpening, which is not the same for lagomorph teeth.

Carnivores:
Compare the teeth of herbivores to that of a strict carnivore: the domestic cat (Felis catus).
Felids have teeth that are very effective at slicing through meat.  See the narrow molars and premolars above.  These are very sharp and come perfectly together with similarly narrow/sharp molars on the lower jaw to create teeth that behave like meat scissors, called the carnassials. 

Note also the large round/bulbous structures at the back of the head (the left one is broken on this specimen)....these are the auditory bullae, and they house the inner ear, including the tiny ear bones (or ossicles): incus, malleus, stapes.  Large auditory bullae are often found in mammals with acute hearing.

Canids have carnassials as well.  However, many Canids will eat more than just the soft bits of flesh from their prey....and some frequently crack into larger bones, etc.  As a result, the molars behind the carnassials on a Canid are more broad and flat for crushing. 

We can see this must be put to good use by wolves (Canis lupus; below), as their molars behind the carnassials have fairly broad surfaces for really crunching up bone.  Interestingly, according to Paquet and Carbyn (2003), wolf molars are broad...but less broad than the Coyote (Canis latrans), which eats more vegetation that requirs broader molars for mastication.

This is even more interesting when we compare the Wolf's teeth to those of the dainty little Gray Fox (Urocyon cinereoargenteus). According to Cypher (2003), these are often used for "crushing flesh and vegetable foods", which are less difficult to mash-up than bone.
It's also pretty cool to compare the areas for muscle attachment associated with the jaws of these two species.  The Wolf has a broad zygomatic arch (cheekbone)....see view from the bottom, looking up through the Wolf's zygomatic arches.  Also...note again the large bulbous auditory bullae....

The zygomatic arch helps protect the animal's eyes, but also makes room for large, strong jaw muscles.  These muscles attach to the mandible (lower jaw)....run underneath the zygomatic arch...and attach to the sagittal crest.  This is a bony projection that runs along the mid-line of the top of the cranium.  The large sagittal crest on the wolf represents a big surface area for the attachment of large muscles that power the jaw...and help generate the force to use those molars for crunching through bone.
We can again compare the wolf to the rather diminutive Gray Fox and see that the fox has obvious temporal ridges for muscle attachment, but the sagittal crest is (proportionally) much smaller than in the wolf. 
The Gray fox is not so much of a bone cracker.....or at least not to the extent of the Wolf.
________________________________________________________________________
I also can't resist but to compare some of these structures to extinct critters....in this case, Felids.  There are a pair of outstanding books that I recommend to anyone interested in skeletal morphology.  Wang and Tedford's Dogs: their fossil relatives and evolutionary history, and Turner and Anton's The Big Cats and Their Fossil Relatives.  Fun to read and full of great drawings of the extinct critters.  I wish I had the rights to include some of the illustrations from these books in my blog, because they perfectly detail what I'm about the describe.

Anyways, if we compare the width of a modern African Lion's (Panthera leo) skull to that of an extinct sabertooth cat, the concepts of large jaw muscles, the zygomatic arch, and feeding strategies can be brought together.

Modern lions have wide skulls due to wide zygomatic arches, and relatively short snouts compared to sabertoothed cats, such as Smilodon sp..  The wide arches accommodate large muscles that produce considerable bite force and strength.  This bite force is employed when lions kill their prey.  Lions can bring down large prey by clamping their jaws around the throat of the animal...or around the end of their muzzle....and suffocating them.  The captured animal will surely struggle when in the lion's jaws, and holding them requires the lions have considerable jaw strength (i.e. large jaw muscles and, thus, wide zygomatic arches to allow the jaw muscles to pass underneath).

The sabertooth cats...however....probably did not use such a hunting/killing strategy.  Rather, it's speculated that they held their prey down with their strong fore limbs....and once the prey was immobilized.....unleashed their famous teeth to sever the major veins/arteries and trachea in the throat to quickly kill the animal.  Thus, sabertooth cats did not require jaw muscles that were as strong as modern lions, because they used a different strategy to kill their prey.  Hence the reason why they have relatively narrow skulls and long muzzles compared to modern lions.  Sabertooth cats did, however, need strong fore limbs to immobilize their prey, which are proportionally larger than modern lions.


Wow!

Skulls are fun to talk about!  But....all of this has distracted me from the fact that I STILL haven't talked about how to clean them. 

Well....we'll get to that next time!


Literature Cited:

Cypher, B.L. 2003. Foxes (Vulpes species, Urocyon species, and Alopex lagopus). In Wild Mammals of North America: biology, management and conservation (second edition). Feldhamer, Thompson, Chapman (eds.).  Johns Hopkins University Press.
Paquet, P.C., and L. N. Carbyn. 2003. Gray Wolf (Canis lupus and allies). In Wild Mammals of North America: biology, management and conservation (second edition). Feldhamer, Thompson, Chapman (eds.).  Johns Hopkins University Press.
Friday, February 1, 2013

Advanced Ecology Lab: 2013 (Weeks 1 & 2)


Another year is upon us!

We have several specific purposes with our lab exercises in this class.  They were, firstly, designed to give students practical experience that mimics what professional ecologists, natural resource regulators or environmental consultants would do.  The students conduct a variety of environmental assessments throughout the semester....use their results to make recommendations and write a professional-style report of their findings.

They apply skills that they've learned in past classes (such as in our 200-level Field Methods in Ecology class), and new techniques they are taught in this class throughout the semester.

Week one is primarily devoted to a site visit and reconnaisance.  The entire property is walked....different community types are identified...and a guess is made as to how the site fits into a landscape context.

Based on this assessment, they break into groups and find locations for their first long-term monitoring initiative on-site: camera traps!

During week two....it was time to head back....service the cameras and delineate the boundaries of the habitats/communities on-site.

BUT, the weather found a way to make things more interesting.  Twenty-four hours before lab this week....the temperature was in the mid-50s.  Normally, I would say this is unheard of for January 'round here, but looking back at a blog post from last January reminded me that this is becoming the norm. 

And they say climate change is a myth!

Anyhoo, the warm temperature was not all that was in store for us.  When I left the house on the morning before we had lab, it was still warm and misting.  All of the snow that we had gotten previously was completely gone.

But things changed suddenly.  The temperature dropped drastically over the course of a few hours and the mist turned to snow.  By mid-afternoon, it looked incredible outside!!


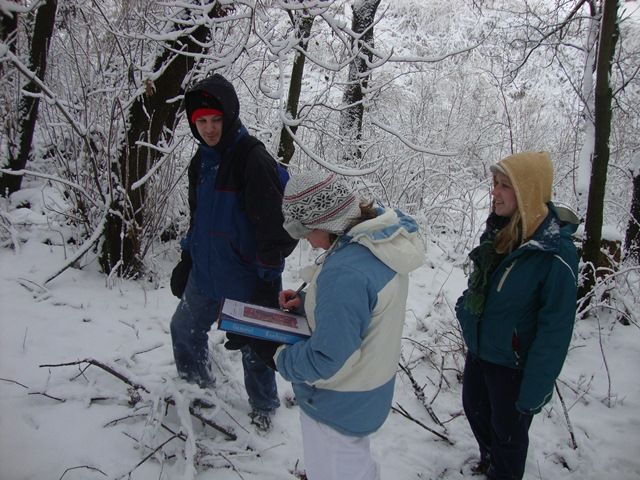
Perfect weather for field work!

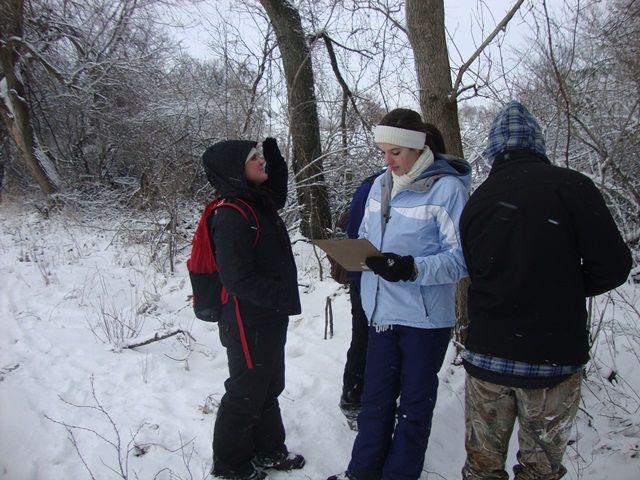
This required students dividing into groups and selecting one of their habitats/communities....following the periphery and recording GPS points.

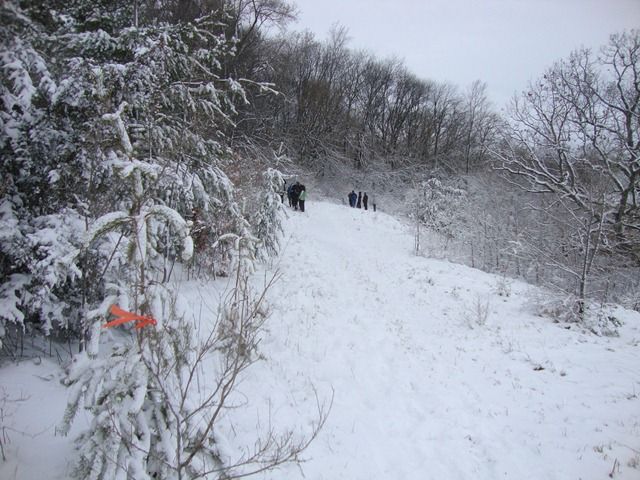
They also had to flag the common boundaries between different habitats so that they could easily coordinate their data later....

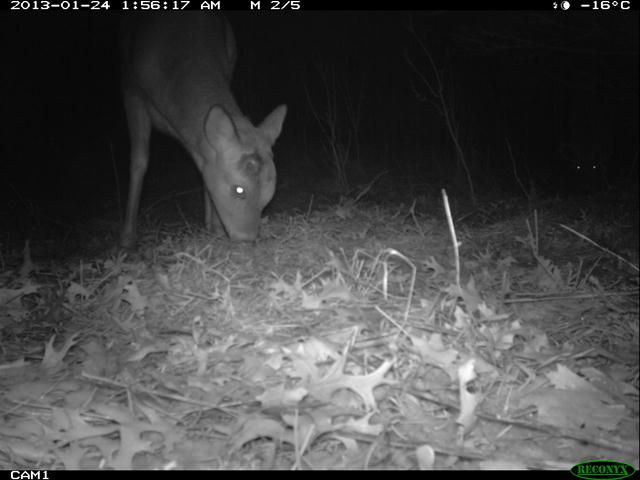
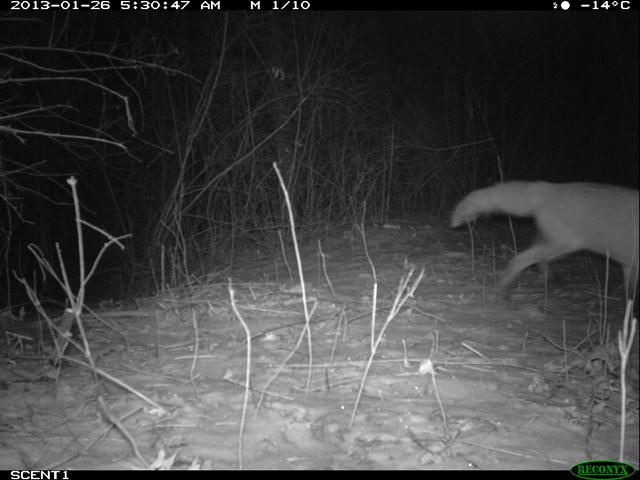
We also checked the cameras....and the usual suspects showed up....

The White-Tailed Deer (Odocoileus virginianus)...note the raw-looking pedicel where the antler recently came off....

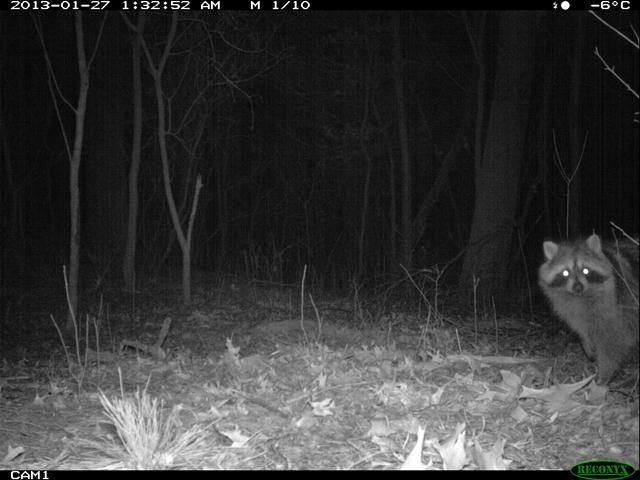
The Raccoon (Procyon lotor)

The Todd (Vulpes vulpes)

But that snow....I can't pretend I don't love it!